


Appium
is an Open Source tool to Automate iOS and Android Mobile Applications. In this blog, we will see the setup of Appium for Android Mobile App Automation.
Android Mobile Settings
To perform the Automation tests on Android Mobile a few steps to be followed. Below are the steps need to be done on any android mobile before starting the Automation.
Enable Developer Options Go to Settings >> scroll down to “About Phone” and click on it >> go to Build number >> Tap on Build number 7 times >> You did it...!!!
Note: If you already have the Developer Options enabled, no need to redo the above step.
USB debugging Under Developer Options >> Switch-on/enable "USB Debugging” option
- Install USB driver for the handset on Development Machine
- Install APK Info App from the Play Store on your Mobile Device - (Apk info app is required to view detailed information of all applications installed on your Android device)
Development Machine Settings:
Java:
Download, install and configure Java/JDK- JDK
Set JAVA_HOME system variable on windows:
(C:\Program Files\Java\jdk1.8.0_102\bin)
Setup for Android Below mentioned are the tools required for android mobile automation using appium.
- ANDROID Studio and SDK tools - Android Studio
- JDK Java Development Kit
- TestNG
- Eclipse
- Selenium Server JAR Note: If you are adding them in Maven project as a dependency in pom.xml, please ignore this step
- APPIUM For Windows/Mac Appium
- Node.js
- Appium java client jar
Note: If you are adding them in Maven project as a dependency in pom.xml, please ignore this complete step 8
- Download and unzip Android Studio
- Then set up ANDRIOD_HOME in environment variables and provide the path up to SDK (echo $ANDROID_HOME
/Users/Test/Library/Android/sdk) - Update PATH variable to tools and platform-tools under android whose path is available from SDK tools folder to append
PATH %ANDRIOD_HOME%/tools and %ANDRIOD_HOME%/platform_tools)
bash_profile Update: On Mac, should update the bash_profile file with the JAVA_HOME and PATH variables:
To open the Bash Profile:
vim ~/.bash_profile
Include the following content into the file
export ANDROID_HOME=/Users/Sivasankaramalan/Library/Android/sdk
export PATH=$ANDROID_HOME/platform-tools:$PATH
export PATH=$ANDROID_HOME/tools:$PATH
export ANDROID_AVD_HOME=/Users/sivasankaramalan/.android/avd
export JAVA_HOME=$(/usr/libexec/java_home)
export PATH=${JAVA_HOME}/bin:$PATH
export ANDROID_SDK=/Users/Sivasankaramalan/Library/Android/sdk/platform-tools
If bash_profile does not exist, then create a new bash_profile file by typing in terminal $ touch ~./bash_profile
- As mentioned above, you can also use vi or vim editor for creating/updating the bash_profile
Eclipse:
- Download and extract Eclipse
- Download: Selenium Selenium Standalone Server TestNG jar Java-client jars gson
- Open Eclipse In Eclipse create a java project
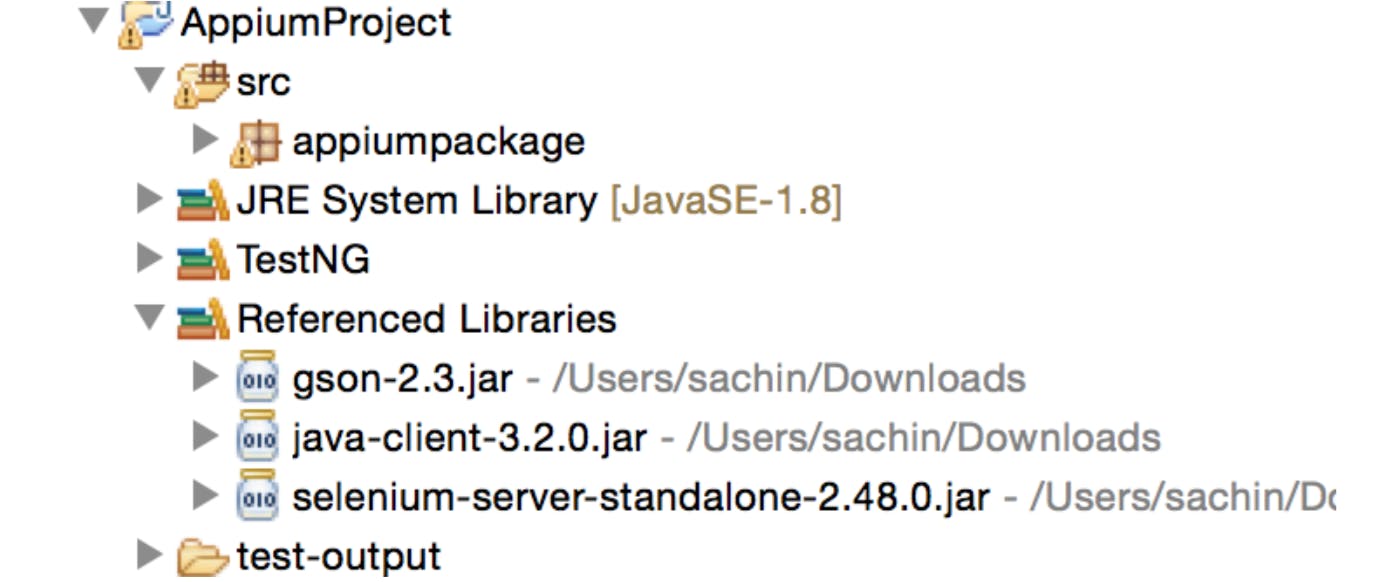
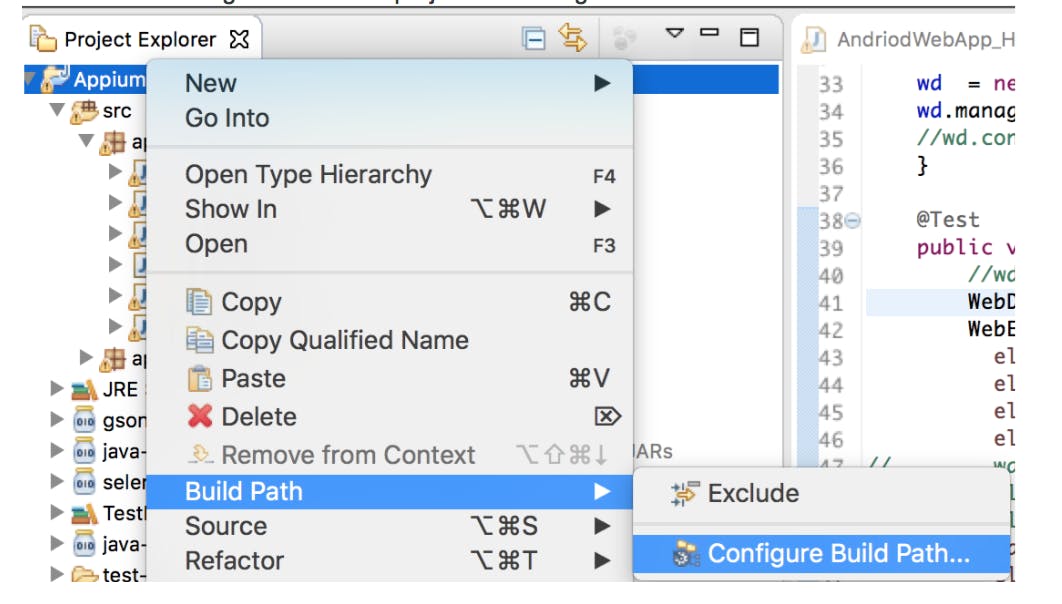
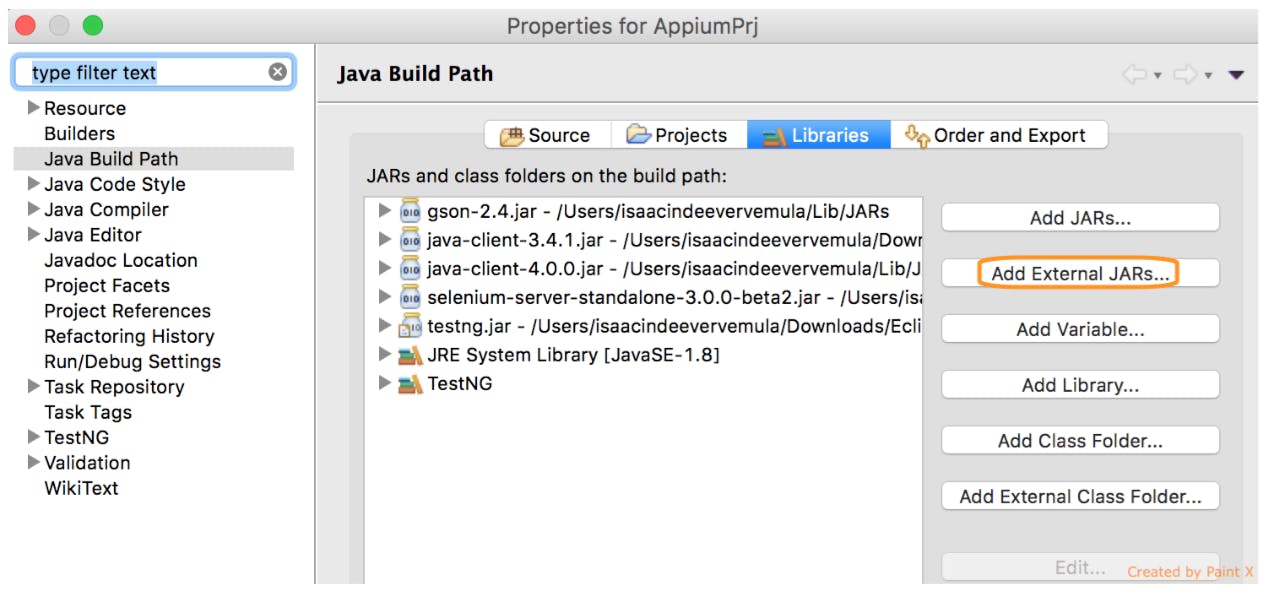
- Configure the above-downloaded Jar's in Eclipse via Build Path: Right-click on the project and configure Build Path as shown below
- Add all the previously downloaded jar files
Install ADT Plugin: can be installed from dl-ssl.google.com/android/eclipse(so that eclipse also recognizes android-device) (in eclipse >> Help >> Install New Software >> enter the URL
Go to Windows >> preferences >> Android >> SDK Location (should be properly updated)(on Mac Eclipse >> preferences >> Android)
NPM
- This installation is required only if you are running old appium server in latest appium server Node js and NPM comes pre-installed
- Download and install Node JS
- Copy and paste the following sequence of commands into your Terminal all together and press ENTER
echo 'export PATH=$HOME/local/bin:$PATH' >> ~/.bashrc

. ~/.bashrc

mkdir ~/local

mkdir ~/node-latest-install

cd ~/node-latest-install

curl http://nodejs.org/dist/node-latest.tar.gz | tar xz --strip-components=1

./configure --prefix=~/local

make install
Appium
- Run following commands in your Terminal window:
npm install -g appium
npm install wd
Few Facts about Appium
Terminology:
* Native App: Inbuilt App
* Hybrid App: To install using App Store / Google Play
* Mobile Web: Sites that work on Mobile
* UI Automator: Find an element in Native / Hybrid App
* Android SDK: Includes tools like ADB, UIAutomator and it be used to build Native Apps
* Appium: Mobile Automation tool (Appium is an HTTP server which was written in node.js, it’s architecture is as same as Selenium Webdriver Server.)
* Receiving requests from the client libraries
* Executes the commands on the target devices & emulators
* Responds with an HTTP response.
Below mentioned are the features of Appium
* Cross-Platform: Same API’s can be used across iOS and Android,
* Supports Automation of Native, Hybrid and Mobile Web App
* Supports Java, C# and Ruby Languages
* Supports use of Selenium API’s to write the tests
* Can use Selenium Grid, Integrate with Jenkins
* Provides API's (through its Java Client Library) for Actions like Touch, Swipe, Scroll, etc.
Steps for Execution
- We need to Enable Developer Options and enable USB debugging and Stay Awake options
- We need to install the USB driver for the handset for use on the Machine.
- Need to install SDK for Device. Based on the version there will be an API level.
- Connecting Device to PC and Verifying Device is attached to the PC. Part of the Android SDK
- Start the Appium Server
- Write the tests using Selenium Web Driver API
Desired Capabilities:
File appDir = new File("/Users/test/Library/Android");

File app = new File(appDir,"Test.apk");


DesiredCapabilities dc = new DesiredCapabilities();

dc.setCapability("app", app.getAbsolutePath());

dc.setCapability("platformName", "Android");

dc.setCapability("automationName", "Appium");

dc.setCapability("fullReset", true);

dc.setCapability("deviceName", "OnePluse5T");

dc.setCapability("platformVersion", "9.");

dc.setCapability("udid", "bdeif23as");

dc.setCapability("appPackage", "com.test.package");

dc.setCapability("appActivity", "com.test.package.MainActivity");


AndroidDriver<AndroidElement> driver;

driver = new AndroidDriver<AndroidElement>(new URL("http://127.0.0.1:4723/wd/hub"), dc);
Advantages of Appium:
- Support for both platforms iOS and Android.
- Support for continuous integration
- It doesn't require access to your source code or library. You are testing with which you will actually ship.
- Support for various frameworks.
- Handles simulators/emulators and real devices
- Supports any programming languages (thanks to json wire protocol) Able to test iOS and Android
- Supports automation of Hybrid, Native, Web Apps and React Native
- Supports multiple frameworks.
- Commonly used programming API's can be integrated.
- Cross-platform
- Open Source (free)
- It can run the app through an appium server without manipulating the app.
- No source code required(unlike Robotium)
- CI compatible with Jenkins, Sauce Labs, Browser Stack, and AWS Device farm
- Able to run on selenium grid.
- It doesn't require an APK for use, although automating certain apps do.
- Selenium WebDriver compatible.
References