


Introduction
XCTest is the automation framework provided by Apple, this will help you in creating and running any UI Tests, Unit Test and Performance Test on your XCode project.
This UI Test can be written in either of the 2 languages i.e Swift or Objective-C
Create Xcode Project
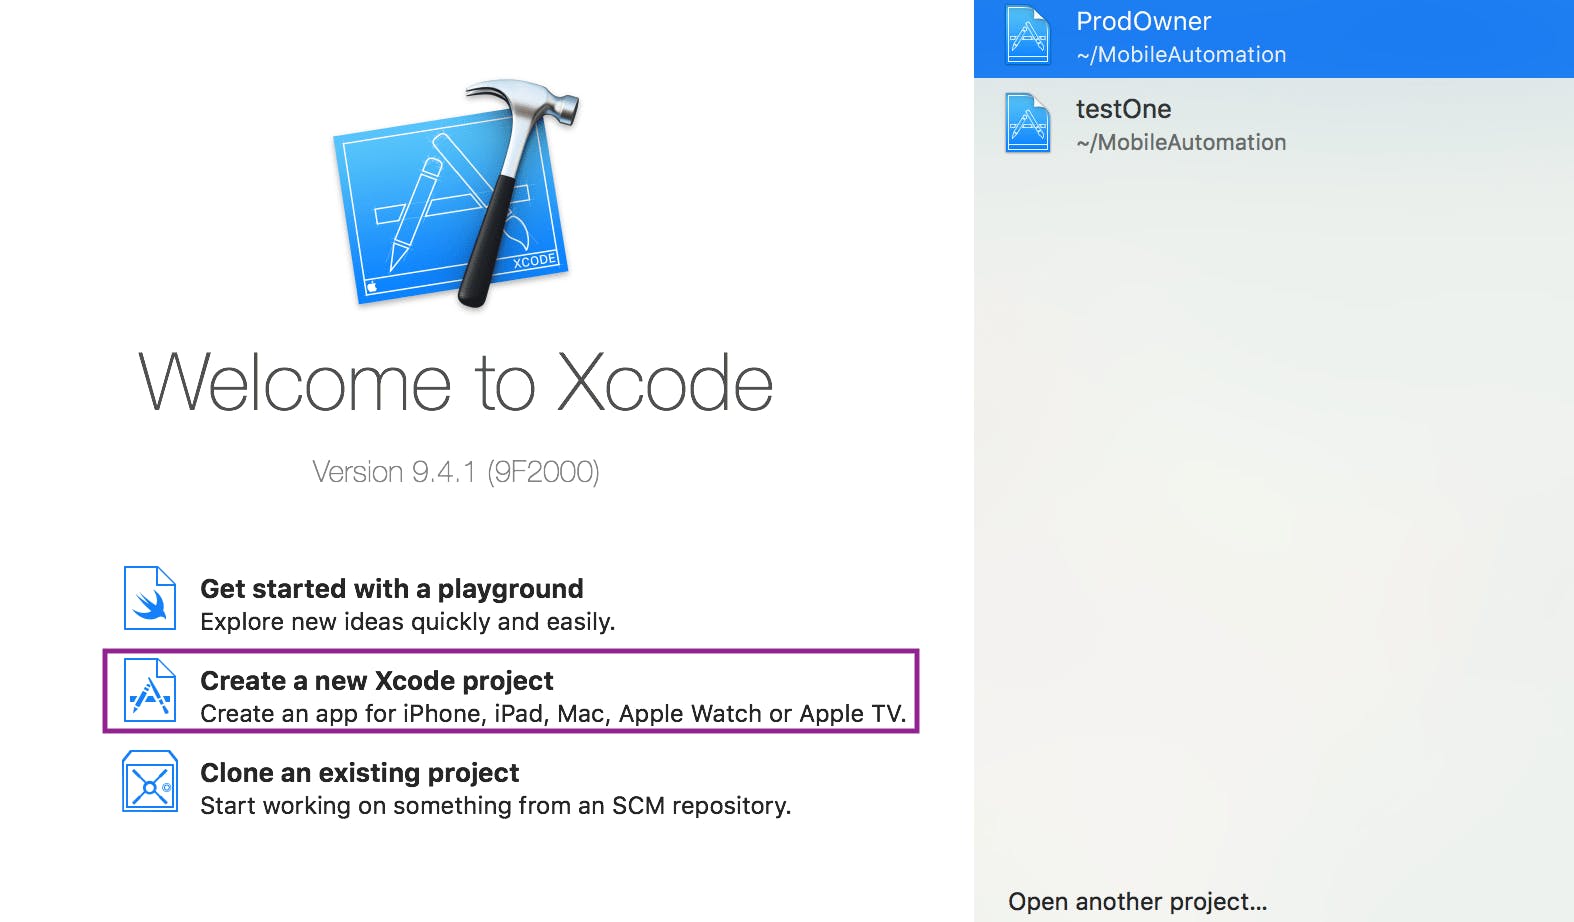
- Launch Xcode Application -> Select "Create a New Xcode Project" (OR Click on File on top left -> New -> Project)
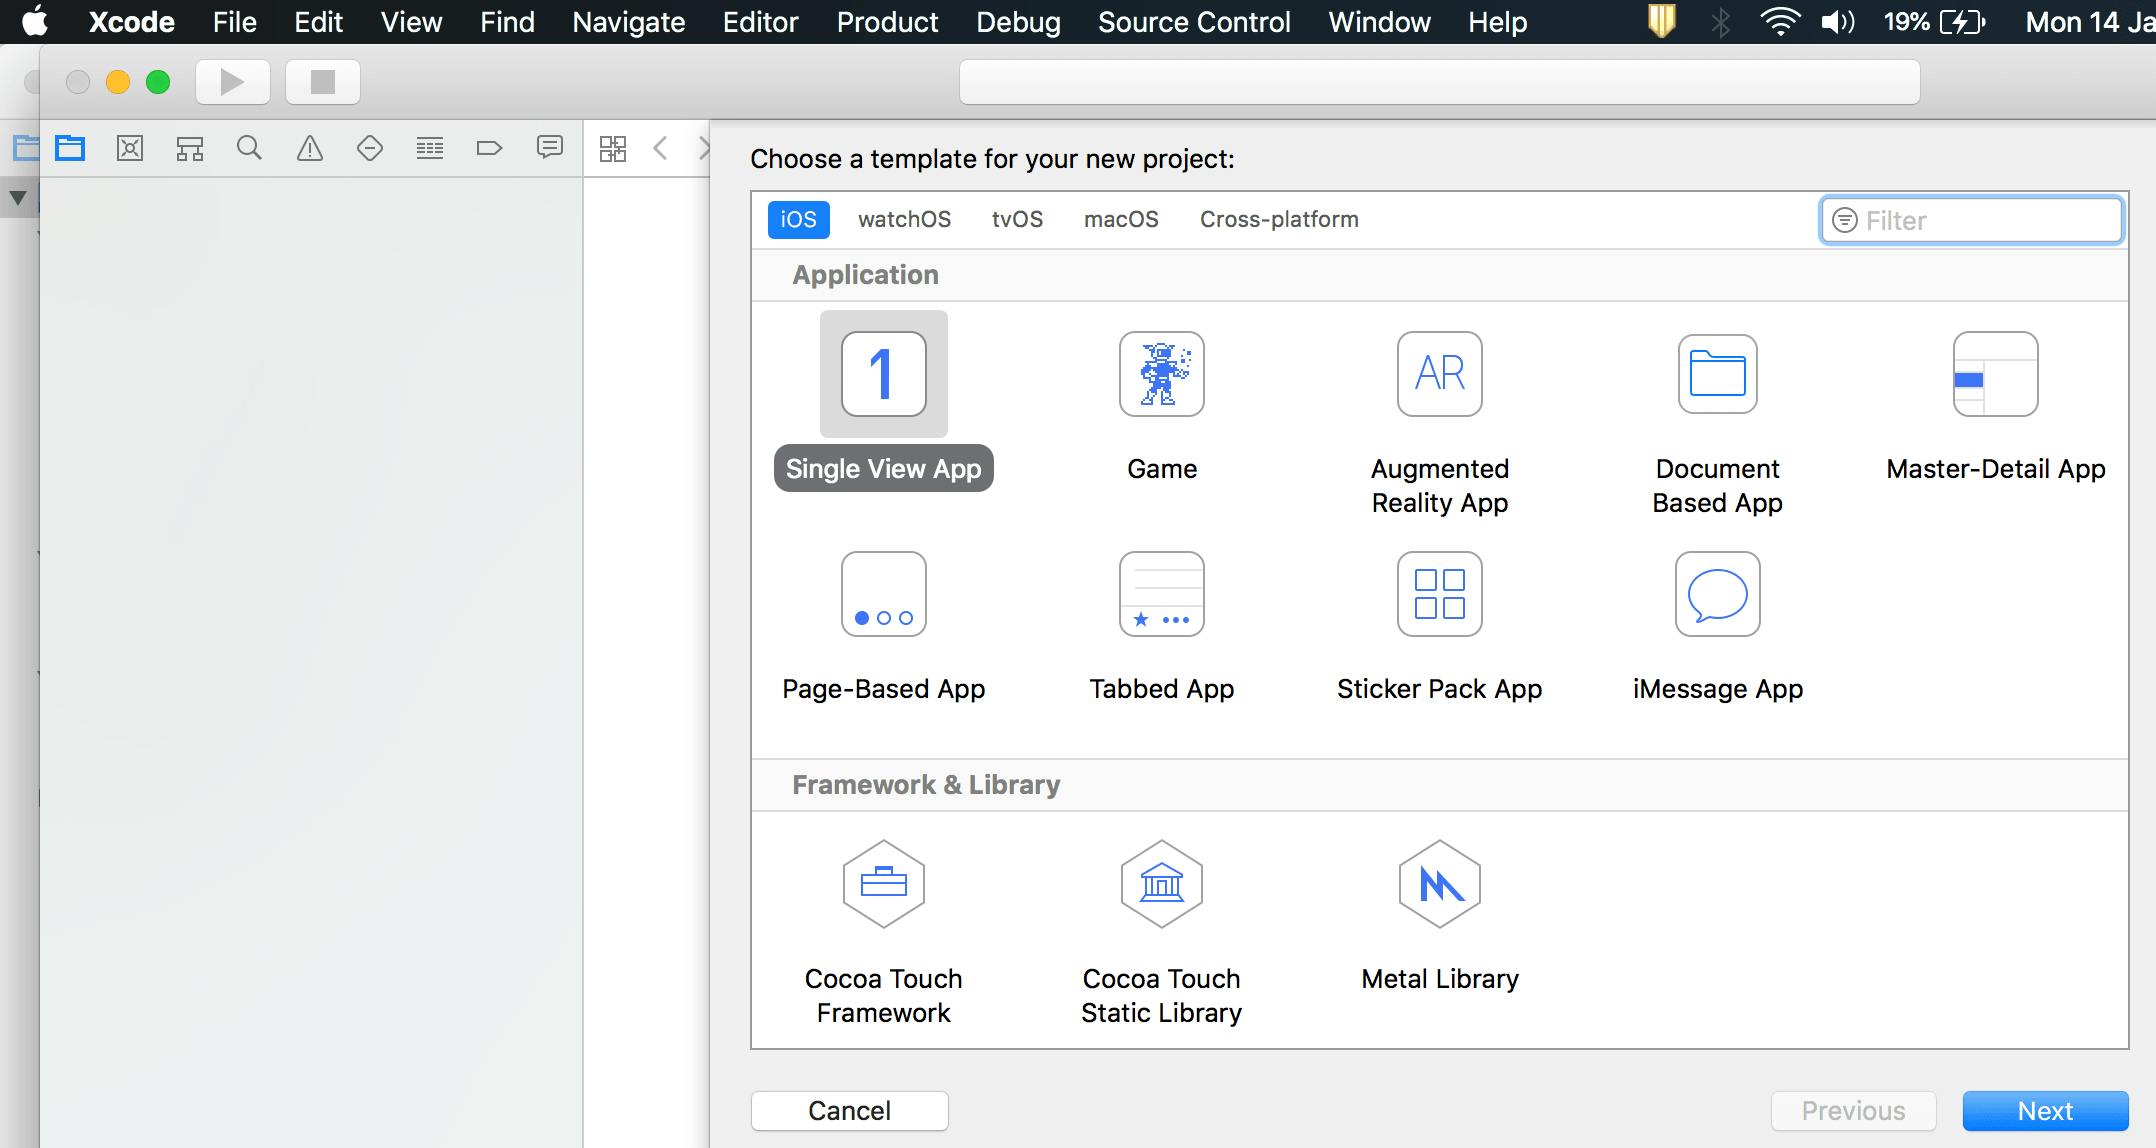
- Select "Single View App" -> Click Next -> Populate a Product Name
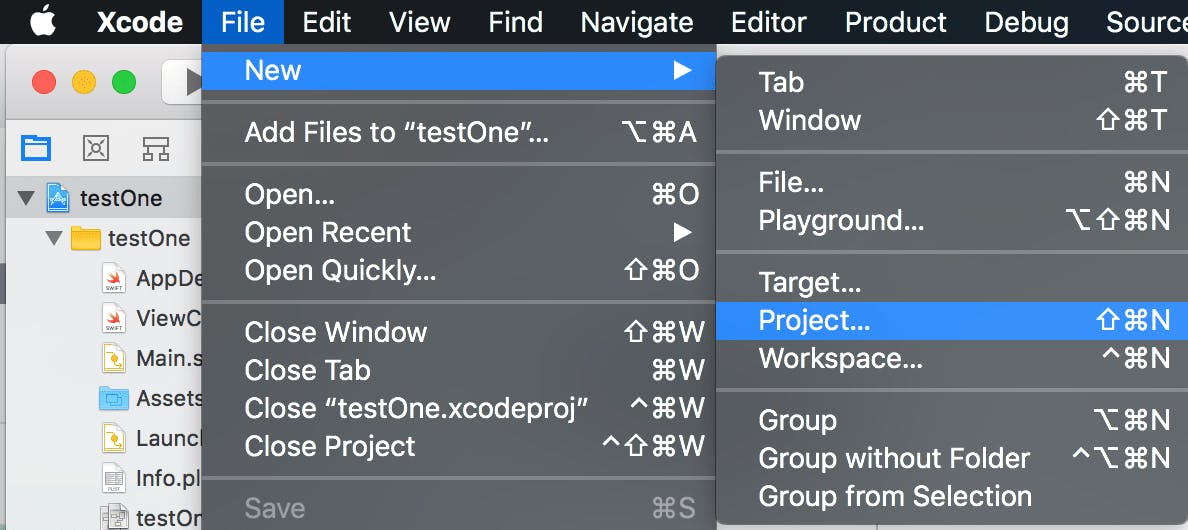
Now, click on File(on top left) -> New -> Target -> and Select "iOS UI Testing Bundle" (by scrolling down/searching) -> Click Next.
Update/populate the product Name ad the Team details
Scripting
To start scripting, click on the <ProductName>UITests.swift file (under UITests folder) in the left pane. func testExample() would be the starting point for writing UI tests
Launching the App
XCUIApplication.init(bundleIdentifier: "com.test.bundle").launch()
Scripting UI Actions
Click on Button/StaticTexts:-
     app.webViews.button["Sign In"].tap();
     app.webViews.staticTexts["Automation"].tap()
Enter text in text box:-
app.webViews.searchFields["Text Box"].typeText("SearchText")
Check is element is Displayed:-
app.webViews.staticTexts["Sign In"].exists
Perform Assertion and check if element exists:-
XCTAssertTrue(app.webViews.staticTexts["Login"].exists,"Home page not displayed")
Perform Swipe Operations:-
     app.webViews.staticTexts["Details"].swipeUp()
     app.webViews.staticTexts["Details"].swipeDown()
     app.webViews.staticTexts["Details"].swipeLeft()
     app.webViews.staticTexts["Details"].swipeRight()
Script Execution
Select the device on top left button and click on play button at the script level
Terminating the App Session
XCUIApplication.init(bundleIdentifier: "com.test.bundle").terminate()
Recording UI Test
- It is possible to record the UI tests on Real Devices and Simulator using UI recorder in Xcode.
- We can record any kind of actions like Click on Element, Swipe or Scroll in a page, Sending keys to the text Field. Below are the steps to start with the Recorder.
Enabling the Recorder in Xcode
- Open the Xcode Application
- Build the sample application on real device or Simulator by Clicking the Play
- Button on the topmost left
- Navigate to the existing UITest.swift file (if UITest.swift not created refer the
- Introduction to creating a new UI test file)
- Navigate to testExample() method and place the cursor inside the method
- Now Recorder button will be enabled on the bottom of the window.
Accessibility Inspector
Accessibility Inspector is Helpful in inspecting the UI elements on real device and simulator. with accessibility inspector, we can inspect any kind of application (Native/Hybrid) for identifying the UI Elements.
Launching the Accessibility Inspector
- Launch the Xcode
- Click on XCode menu in Task Bar
- Navigate to "Open Developer Tools"
- Choose Accessibility Inspector.
Inspecting Elements
- Choose the Target device from the left side (Device/Simulator) Click the Inspect Button on the Right Side to access the element
- After enabling the inspect button click the element on Mobile. the respective hierarchy will be displayed in the Accessibility inspector screen.
Accessibility Inspector sections.
- Basic -> It shows the Element labels, Identifier and element type.
- Actions -> if the element is clickable [perform] menu will be enabled, if the page is scrollable [Swipe Up, Swipe Down, Swipe Right, Swipe Left] button will display.
- Hierarchy -> It shows the entire DOM of the element.
References: XCUITest